With an active 18 month old toddler our house is feeling smaller and time seems to be going by so much faster!
We have been working on ways to update the house so it's more usable for all of us, and one challenging room we are working to tackle is our dining room. Which has been my quilting room since I started quilting. In November 2013 we finally moved the dining room table out of the dining room and got a great space saving quilting table from Joann Fabrics.
Now as we look to organize we are talking about making it a space my husband can also enjoy at the same time as me, meaning we will set up a place for him to be able to play xbox/play station. What a wonderful thing it would be to be able to be in the same room when were partaking in some of our favorite activities!
Well while in the process of rearranging and space planning I had to do some organizing and that lead me to a drawer of WIP's.
First up was a ziplock bag that I had 36 blocks already made for an I Spy quilt. They just needed sashing added and then to quilt and bind.
I know myself well enough that making a good size quilt does not keep my interest. So I separated out the 36 blocks into 3 sets of 12 and went to town making 3 seperate I Spy quilts.
The quilt tops feature fruits and vegetables. For the back on one quilt it has the Alphabet jumbled up and the other two have the numbers jumbled up.
I am so happy with the finished products and so is my son! We have been practicing pointing out the fruits and veggies and he is picking them up quickly.
Here is a photo of the quilts while they were in progress- it showcases what the quilt tops look like as well as the backing choices.
Here is a close up of each finished quilt:
On the 2nd quilt I improved my process by using spray basting to create my quilt sandwhich. On the 3rd I improved even more by using a Pinterest tutorial for bringing the backing forward as your binding. What a time saver!! And way less frustrating- I hate binding.
Once all three quilts went through the washer/dryer I did find a few seams that didn't catch completely so I had to go back and do some extra top stitching. Not ideal but I'm not into quilting for perfection.
Once these quilts were put together I opened another WIP- my mini Sudoku quilt. I made a lap size version in March 2013 and knew I had enough fabric to do a mini version.
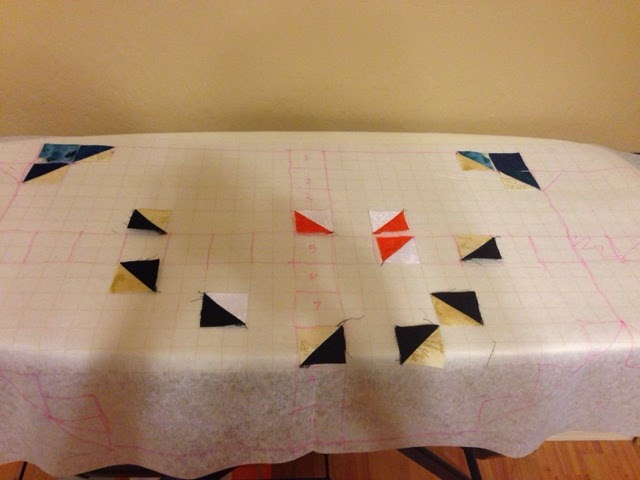
My WIP had all the pieces cut and most laid out even as I'd been using fusible grid paper. The reason I stopped working on the quilt the first time was because the squares were not sticking to the fusible grid when I was sewing. I aborted the project with only one and a half rows sewn together.
So when I picked up the project last night I had to seam ripper both rows to get the fabric organized. Once I have the fabric organized, I took to using the grid paper again but added in basting spray as an additional adhesive. Boy did it make a difference.
My setup was simple I placed my fabrics
In a 3 by 3 layout so I knew which fabric was 1, 2, 3, and so on. Then on the fusible grid I used a frixion pen to write the sudoku pattern out then working in columns of 3 I would spray the basting spray and quickly layout the pieces of fabric. Once all the fabric was laid out I took the fusible grid to the ironing board.
Note: I don't think spray basting and fusible grid are supposed to be used in this way but I was bound and determined to make these two inch squares adhere so I went for it.
Once at the ironing board I laid down a piece of flannel that if it got spray basting on it I would have no problem throwing it out. Then got my appliqué pressing mat out and placed it over the quilt top. Then I used it as a barrier between the iron and the quilt top/adhesives. It worked beautifully.
As I sewed all the rows they came together great, and nothing had issues staying in place.
After completing the top I took my lessons learned from the I Spy quilts and spray basted my quilt sandwhich and used the back/binding method to complete the quilt.
This mini quilt came together in 2.5 hours and I am so excited to find a place to hang it up.
Here's a picture of the finished product.


